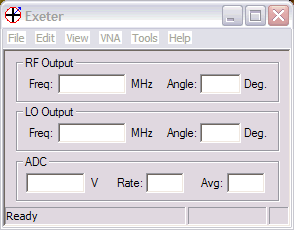
Step 1. Launch Exeter.exe. This will open the Main Exeter Window:
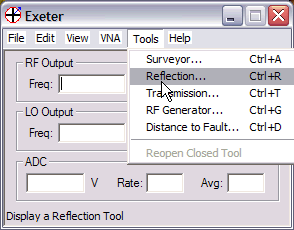
Step 2. From > Tools, select the task you wish to perform or "tool" you wish to use.
The Reflection... tool is used as the quick start example.
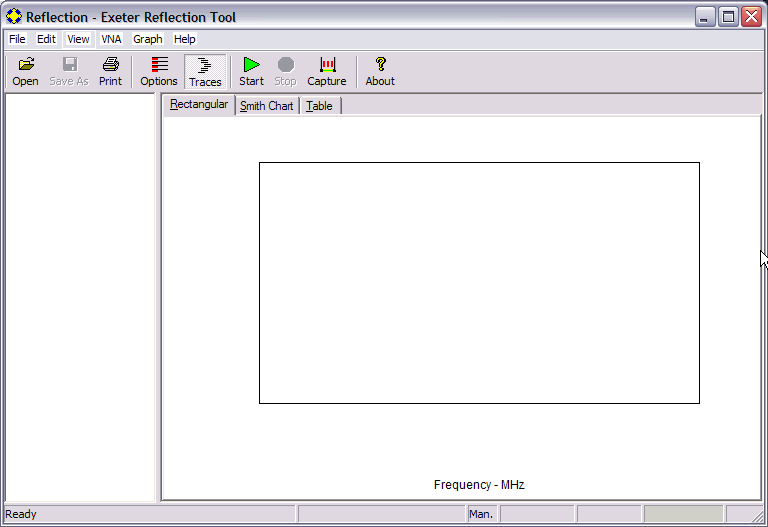
Exeter responds by opening the Reflection Tool's Display window:
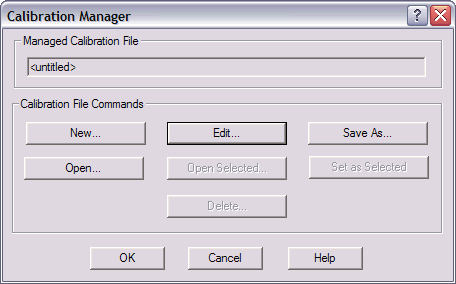
Step 3. Returning to Exeter's Main control window, from > Edit, select Calibration Manager:
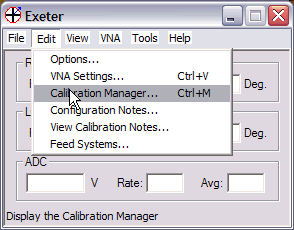
This will open the Calibration manager Window:
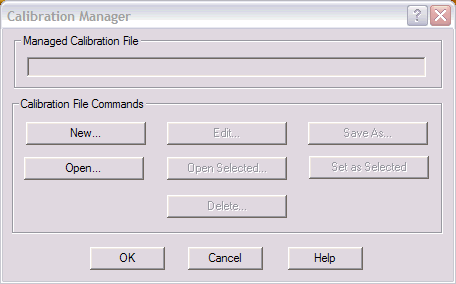
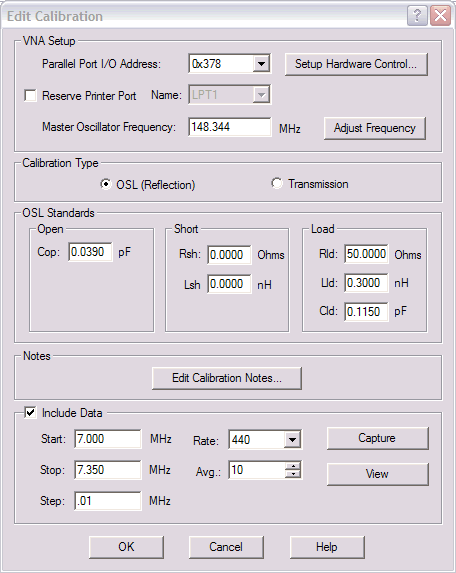
Step 4. Select > New, and then select > Edit. This will open the Calibration file editor window:
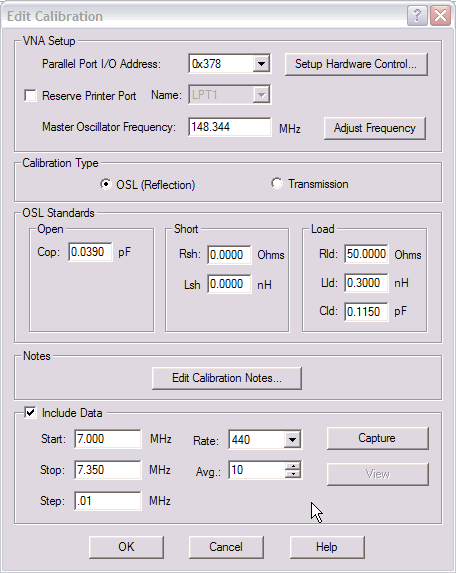
Step 5. Verify the OSL Standards are correct.... accept defaults, or modify if you know the relevant parasitic values of your standards.
Step 6. Select the appropriate parallel port address used to communicate with the VNA. (The default value is 0x378)
Step 7. Click on Setup Hardware Control, and select the ADC being used in your VNA.... The LTC2440 is the high speed (multi-rate) ADC upgrade option.
Step 8. Correct the Master Oscillator Frequency used if different than that shown... This should be as precise as you can determine as it establishes the frequency accuracy of the DDS signal sources and thus the data collected by the VNA.
Precise accuracy isn't required for the purpose of a Quick Start example session. If you wish to perform this task now however, the procedure is as follows:
In the VNA Setup portion of the Calibration Manager Editor, click on the Adjust Frequency button. This will open the Master Oscillator Frequency Adjust window:
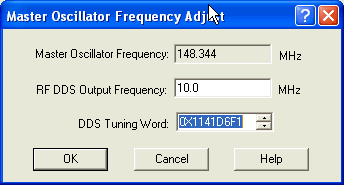
Tune a receiver to receive a known reference frequency standard signal such as WWV, CHU, a broadcast signal known to have a precise carrier accuracy, or a synthesized signal source of known frequency accuracy.
In the RF DDS Output Frequency box, enter the precise frequency of the known reference.
Combine the signal from the RF output of the VNA with the reference signal, and adjust the relative levels until you are able to detect the beat (difference) frequency in the receiver.
Using the up/down controls on the DDS Tuning Word Box, adjust the tuning word until the two signals are at the same frequency (zero beat). An S-meter is useful for obtaining an accurate zero beat when the signals are of equal amplitude, and within a few Hertz of each other. The needle will drift very slowly or stop altogether when the two signals are precisely matched.
Once a precise zero beat has been obtained. the DDS tuning word, is used along with the RF DDS Output Frequency to compute the precise reference frequency of the VNA. All subsequent DDS tuning is then referenced to this calibrated value. The DDS tuning accuracy is good to within the limits of which you are successful at obtaining a zero beat, and as limited by the thermal and mechanical stability of the reference oscillator used in the VNA.
Step 9. Select the Calibration Type appropriate for the Tool selected.... OSL is the correct choice for the Reflection Tool used in this Quick Start example.
Step 10. Check the Include Data box, and edit the desired Calibration limit parameters, ADC sample rate, number of averages per Cal point, and comments if desired.
Step 11. When finished Click on Capture and Exeter will prompt you to connect the "Open" calibration standard:
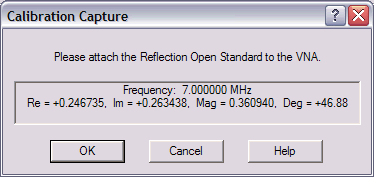
Step 12. Securely connect the calibration "Open" standard, then click on OK. A window will open to illustrate progress of the calibration process.
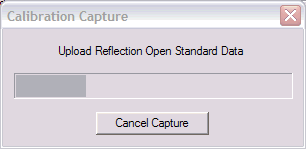
When completed, this window will close, and a window will open prompting you to connect the "Short" calibration standard.

Step 13. Securely connect the calibration "Short" standard, then click on OK. A window will open again to illustrate the continuing progress of the calibration process.
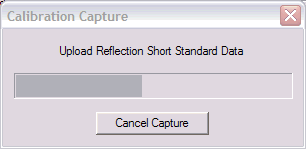
When completed, this window will close, and a window will open prompting you to connect the "Load" calibration standard.
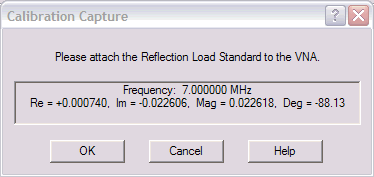
Step 14. Securely connect the calibration "Load" standard, then click on OK. A window will again open to illustrate the progress to completion of the calibration process.
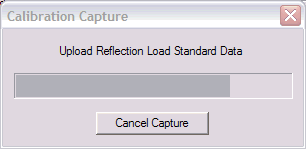
When the calibration process is completed, you will be returned to the Calibration editor:
Step 15. If everything went as desired, Click on OK and you will be returned to the Calibration Manager Menu:
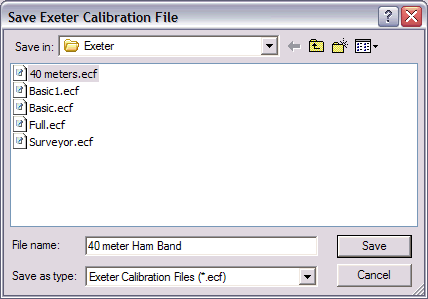
Step 16. Click on Save As..., and a folder will open where you will be prompted for a file name:
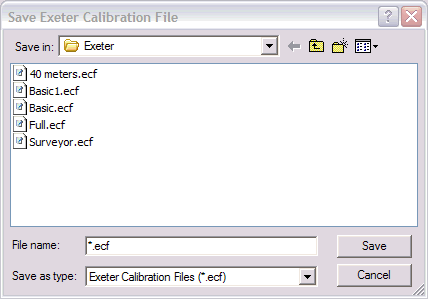
Step 17. Assign a descriptive file name and click Save:
The folder will close, and you will be returned to the Calibration Manager...

Step 18. Click on Set as Selected.
Step 19. Click on Open Selected...
Step 20. Click on OK.
Calibration data for the Reflection Tool configuration has now been completed. The cal data can be recalled via the Calibration Manager if desired for use in future measurements.
Step 21. From the Exeter Main window, select Save Configuration As...
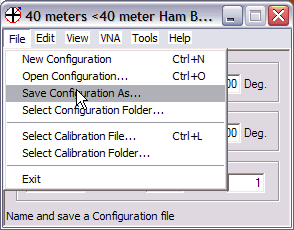
A folder will open where you will be prompted for a file name to save the configuration just defined.
Note: The configuration in this example includes the opened Reflection Tool, and the Calibration file just created. Alternatively, any calibration file selected from within the Calibration Manager, and any additional tools that have been opened can be saved as this or an additional configuration.
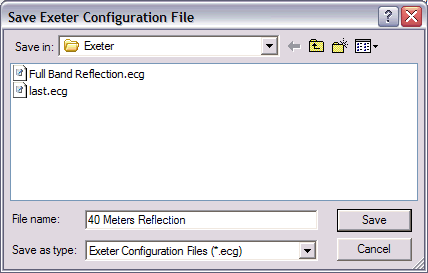
Step 22. Assign a descriptive title for the configuration, and click on save:
Step 23. Click on the capture Icon in the Reflection Tool window's Toolbar, and the Tool Data Capture Specification window will open.
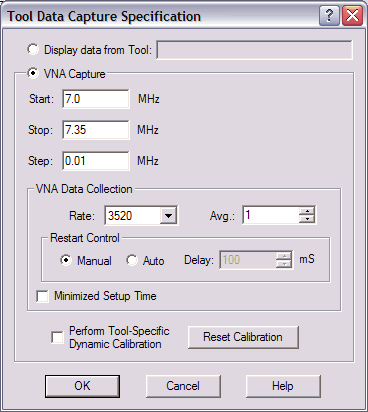
Step 24. Edit for the desired data collection parameters, and click on OK to close the window.
Step 25. Click the Start Icon on the Reflection Tool's toolbar and a window will open prompting you to connect the Device Under Test (DUT)
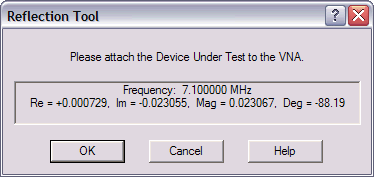
Step 26. Connect the DUT as directed, and click on OK to begin the data collection process.
Step 27. Edit the tool parameters to display the data as desired.
